Ableton EQ Plugins: Uses and Differences
Ableton Live Suite offers three different EQ plugins as part of its native plugin collection. Each of these EQ plugins has its own unique features and strengths. Let’s jump in and explore each one!
Channel EQ Features
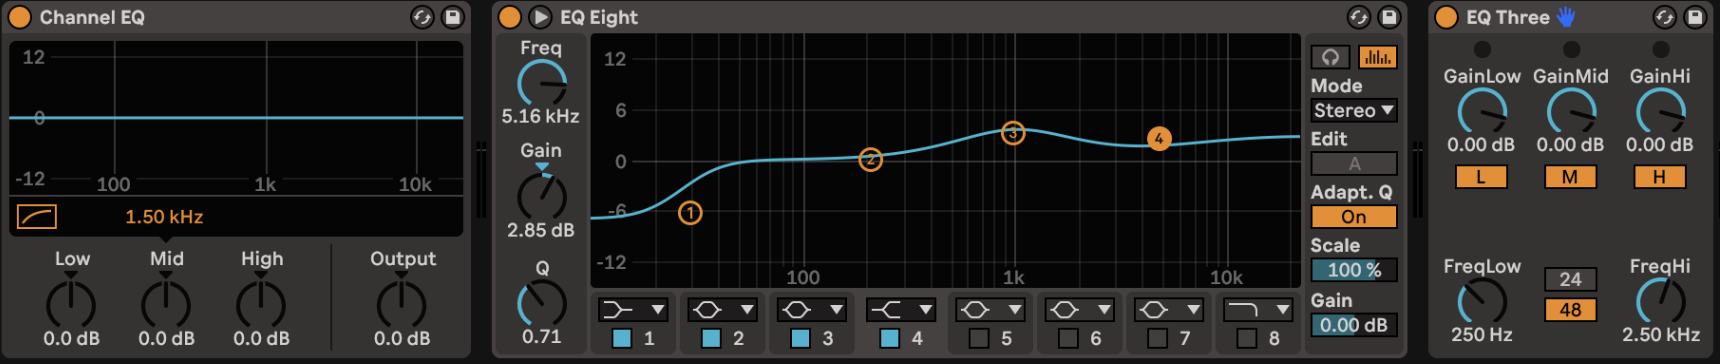
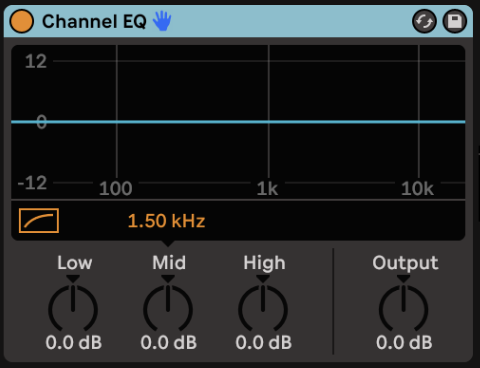
Channel EQ is a basic but important EQ plugin that emulates classic analog three-band EQ consoles. Channel EQ features a nice graphic spectrum analyzer and amplitude line and is great for live performance because of its simple three-knob design.
According to the Ableton User Manual, the mid knob covers 120 Hz to 7.5 kHz, and the low and high knobs cover everything above and below. The low and high knobs correspond to low and high shelf curves. Interestingly enough, this plugin also features a high pass filter that can be toggled on and adjusted to add some more extreme low-end cutting. You can turn it on by toggling the little box next to the letters HP (for high-pass).
This plugin also features a gain knob that is applied to the entire signal post EQ.
Uses and Ideas for Channel EQ
For starters, Channel EQ is a great plugin for the overall shaping of a track or group of tracks. If you are looking to quickly slap a high and low shelf on a sound, channel EQ is a great go-to.
Channel EQ is also great for live uses, as its simple 3-parameter design allows its parameters to be easily mapped to different knobs and faders on a controller.
It’s also super useful for shaping send effects such as reverb or delay sends when you don’t need to be too precise with the EQ.
If you’re going for that “imperfect” analog EQ vibe, Channel EQ is the way to go! Simple, easy, and basic is not always a bad thing!
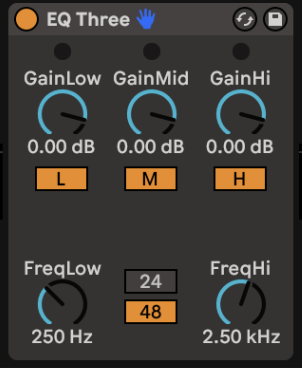
EQ Three Features
EQ Three is similar to Channel EQ in that it is a very simple and basic tool that allows for quick treatment and live uses such as DJing. The main differences between Channel EQ and EQ Three are the ability to turn the lows and highs down to infinity and to change the frequency ranges of the three bands.
Uses and Ideas for EQ Three
EQ Three is a great choice for DJs who want to completely remove frequency ranges from a track. EQ Three is definitely a unique three-band EQ because of its ability to bring the mids down to infinity. Imagine you want to remove the midrange from a track so that you can mix in the keys or vocals from another. This is possible with EQ Three!
EQ Three is also great for creative uses in music production such as drastically changing the frequency makeup of a track from section to section. Because of its simple gain knob design, it's easy to automate or easily adjust for quick results!
EQ Eight Features
EQ Eight is not available in the Live Light or Standard Versions but is a super amazing tool to have access to.
EQ Eight is a parametric EQ that features up to eight filters/bands. EQ plugins like this one are extremely powerful and useful for precision when EQing and shaping the frequency content of a sound.
EQ Eight includes some unique features such as the ability to switch “modes.” There are three different modes: Stereo, L/R, and M/S. Stereo functions as your common EQ plugin, which uses one curve to affect the entire track’s signal. The L/R mode will split the left and right channels of the signal so that they can each be treated with their own EQ curve within the same plugin! The M/S (Mid/Side) mode is made for files encoded with M/A encoding but is similar to L/R in that it splits the center and side frequencies to allow separate treatment.
The analyze button allows users to toggle on a spectrogram that is displayed behind the EQ curve. Being able to see this analysis is super helpful, especially during mixing when it is important to see which frequencies are prevalent and which ones can be removed or balanced.
Something to note is that the slope of the Low and Hi-pass filters can only be set to two settings. Users can select between 48 dB per octave or 12. The 12dB per octave slope has an x4 on the icon in the dropdown menu.
EQ Eight also has a second view! For people that would like to work entirely by ear, the second view (expanded view) ditches the visual and shows knobs with frequency, Q, and gain for each band.
Another amazing feature of EQ Eight is its ability to “audition” a single band. This feature can be accessed by toggling the little headphone icon button on the top right corner of the plugin. When audition mode is on, simply click and hold a filter dot in the spectrogram view to solo that band.

EQ Eight Uses
There are many great uses for EQ Eight, one being shaping the frequency spectrum with a sound and having a lot of control and precision. For example, you may want to shape an instrument targetting many different frequencies and affecting them in different ways.
EQ Eight is great for shaping sound when you want to see the frequency spectrum to better understand what "frequency real-estate" a sound is taking up. This is helpful for mixing instruments and making them fit better into an overall arrangement.
Auditioning bands can be super helpful if you want to hear the quality or understand the amplitude of a single area of the frequency spectrum. It can be useful during mixing to solo a specific bad in order to hear where that specific area fits into the overall mix.
Conclusion
The bottom line is, each of Ableton's EQ plugins is different from one another and has different uses. However, there is never a wrong way to use an EQ plugin! There is so much creative opportunity that can be harnessed with each of these plugins. Play around with them and see what you discover!