MIDI Mapping in Ableton Live
Ableton Live is known for its powerhouse live performance functionality (hence the name “Live”), and provides an array of options for controlling projects without ever touching the mouse. Nowadays, many MIDI controllers come with preset mapping/control scripts that automatically map parameters in popular DAWs to different MIDI CC controls on a given controller. However, it is always good to have ultimate control of your hardware and real-time controls, both for live performance and production in general.
This post will go over the basics of MIDI mapping in Ableton Live, as well as how to map the keys on your computer keyboard to control different parameters!
MIDI Mapping Mode and Assigning Parameters
Before you start mapping, ensure that Remote is turned on for your controller in Ableton's MIDI Preferences.
To put Ableton into MIDI Mapping Mode, simply click the MIDI button in the top right corner of the DAW. This will turn any mappable parameters blue!

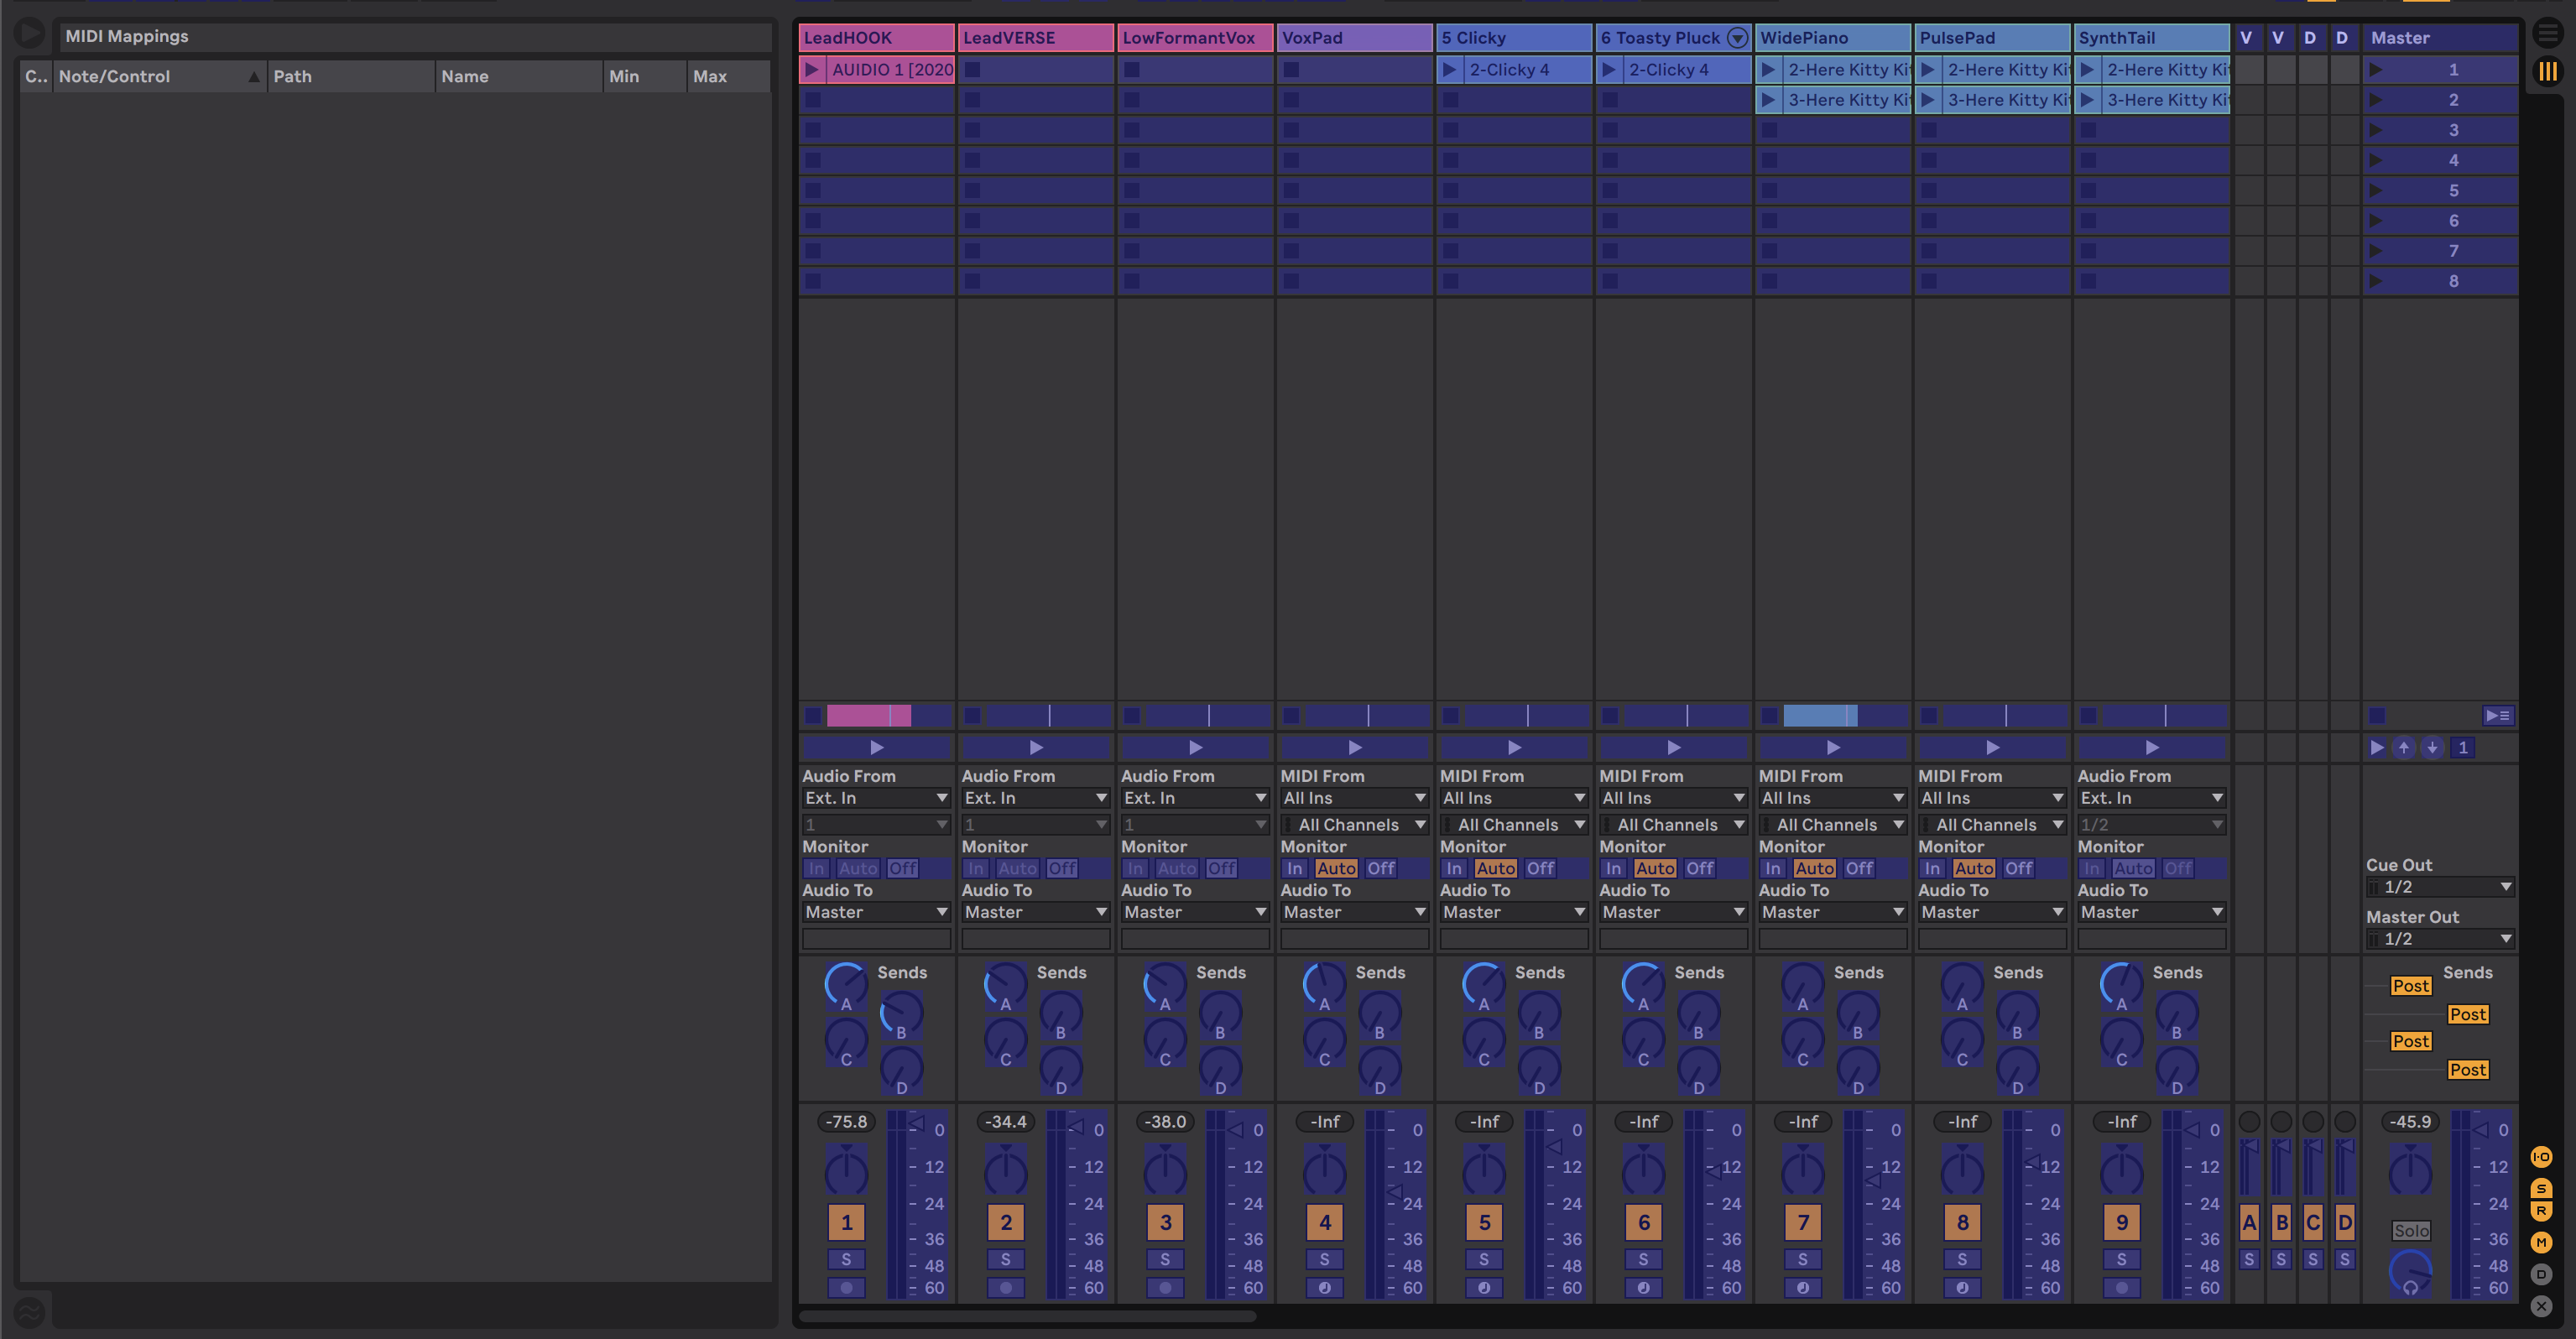
Next, all you have to do is click on the parameter in Ableton that you want to map to your controller, and then interact with the knob, fader, button, or key on your controller which you want to map the parameter to.
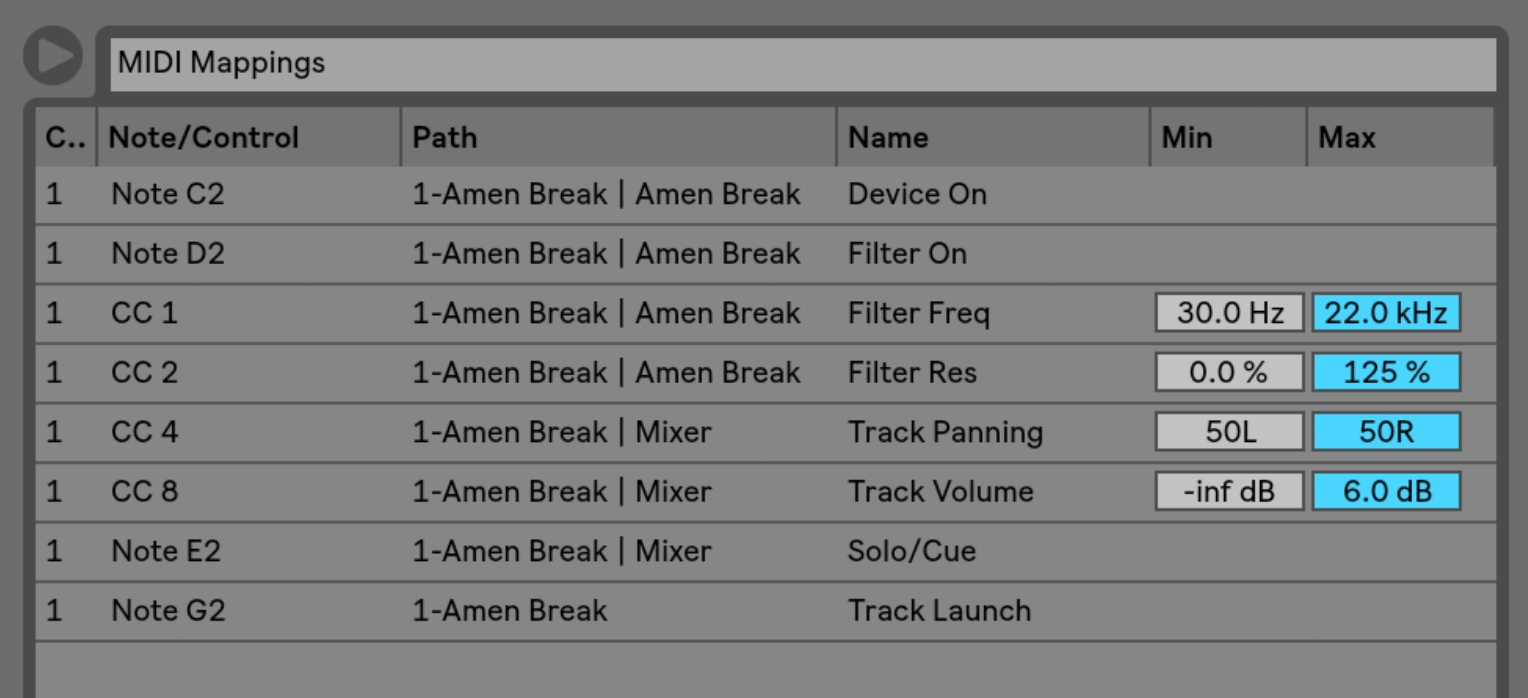
Now, you should see two different indicators that your parameter is mapped. You will see the MIDI Mappings window on the left of your screen, which should have a new event added to the list. You will also see that the parameter that you mapped now has a MIDI CC value overlaid onto it.
You can adjust the minimum and maximum values of the control in the MIDI Mappings window for controls that have scaled values such as frequency cutoff or panning (shown below).
You can also do this with the keys on your keyboard; rather than pressing the MIDI button, press the Key button which lives next to the MIDI one. Now, everything which is mappable will appear yellow instead of blue. This means that you are mapping your keys! Keep in mind that key mapping only works for MIDI on and off values. This means that they will only be able to control parameters that are able to be manipulated with only the press of a button, not parameters that can be manipulated with knobs and faders.

Mapping Third Party Plugin Parameters
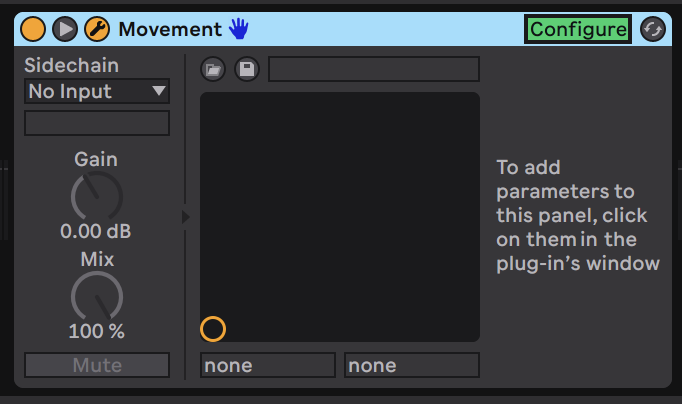
Mapping controls for third-party plugins have an additional step. Before mapping the parameter, it needs to be added to the Ableton interface. To do this, simply open the plugin application and locate the configure button on the plugin box (with the X-Y pad, where you opened the plugin. When configure is toggled on, any parameter moved/touched in the plugin window will be added to the parameters section of the plugin's box. Then, you can map parameters from here as explained above!

Saving MIDI Mappings
MIDI maps are automatically saved with a project! This means, however, that for every new project, a new MIDI map must be created and saved in MIDI mapping mode. There are ways to create and save custom MIDI maps that can be imported from other projects, but that is a more complex process that involves third-party applications and scripting. The best thing to do is to create a mapping process and system for yourself, your productions, and your performances.
You can also create project templates for yourself by simply creating a set to start your projects with and saving MIDI mapped parameters within this set!