Sampler Basics - Ableton Live Suite
You’ve probably heard that Ableton being referred to as the “queen of sampling.” Well… maybe not in that phrasing. But if you know anything about Ableton, you probably get that it's a sampling beast.
A sampler is a multisampling tool. It can be used for many different purposes, but with a quick Google search, you’ll find that the biggest and most common thing Sampler is known for is multisampling.
What is multisampling?
Multisampling involves mapping multiple samples across midi regions or across midi parameters, most often velocity.
For example, a musician might take a recording of a piano playing a “C” at each octave on their piano. From here, they can transpose each C to cover only its respective octave. Multisampling allows for more realistic and durable sampling of real-world sounds as well as more in-depth synthesis techniques.
Multisampling also allows us to map multiple samples within different velocity value ranges in the MIDI CC. This allows us to create a sort of 3-dimensional sound that is more variable and “deep” than normal single-sample sounds.
Many different companies, sources, and musicians create multisample packs for the world to use. However, many sound designers also resample sounds using multi-samplers like Ableton’s.
Sampler Features
Sound Library Compatibility
A sampler allows users to import sampler libraries in specialized formats such as Logic’s .exs format, or Kontakt’s .nkc format. It also provides a great resource for creating your own sample libraries!
Graphical Zone Mapping
Sampler’s first tab is known as the Zone tab. This tab toggles the Sampler’s Zone window, where all of the samples in the constructed sound/preset are shown, as well as their mappings over the piano roll. This is where all the multisampling magic happens. When you open the tab, you can see a nice graphic of exactly which samples are mapped to which range of which parameter. You have an unlimited number of sample zones and can literally layer tons of sounds.

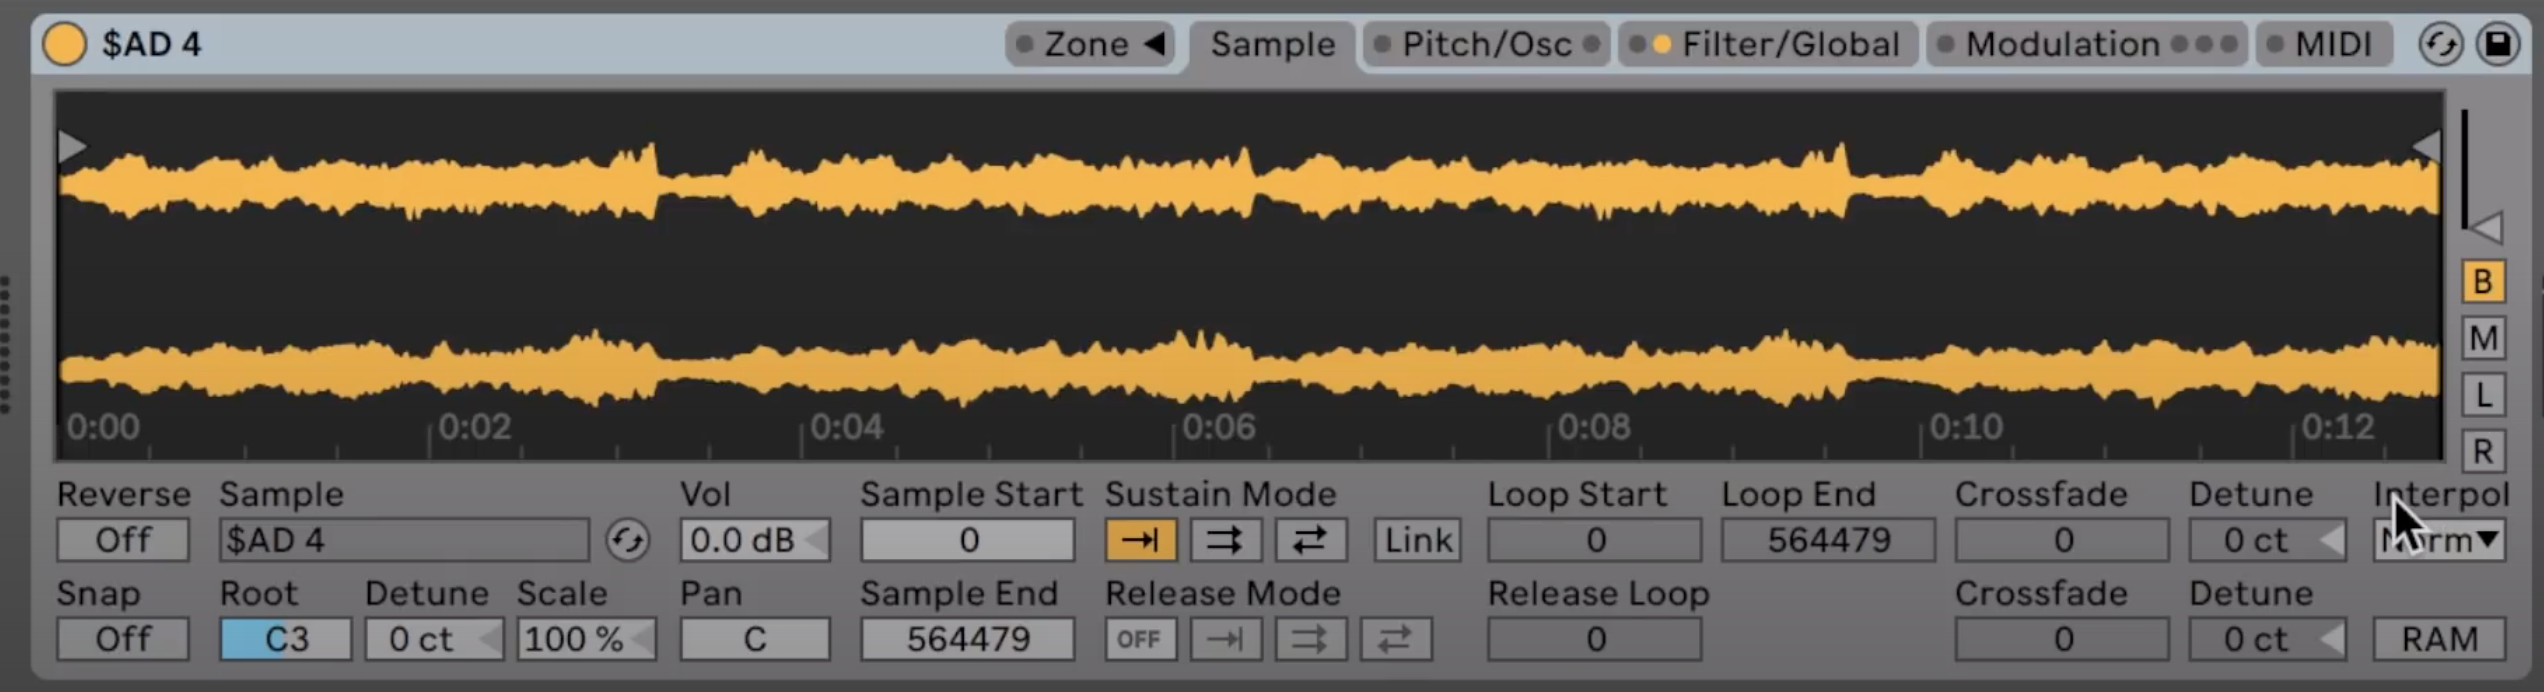
Sample Tab
The Sample tab is where you check out the waveform of individual samples. Here, you can loop sections of the sample, control volume and panning, and change the sample’s tuning.
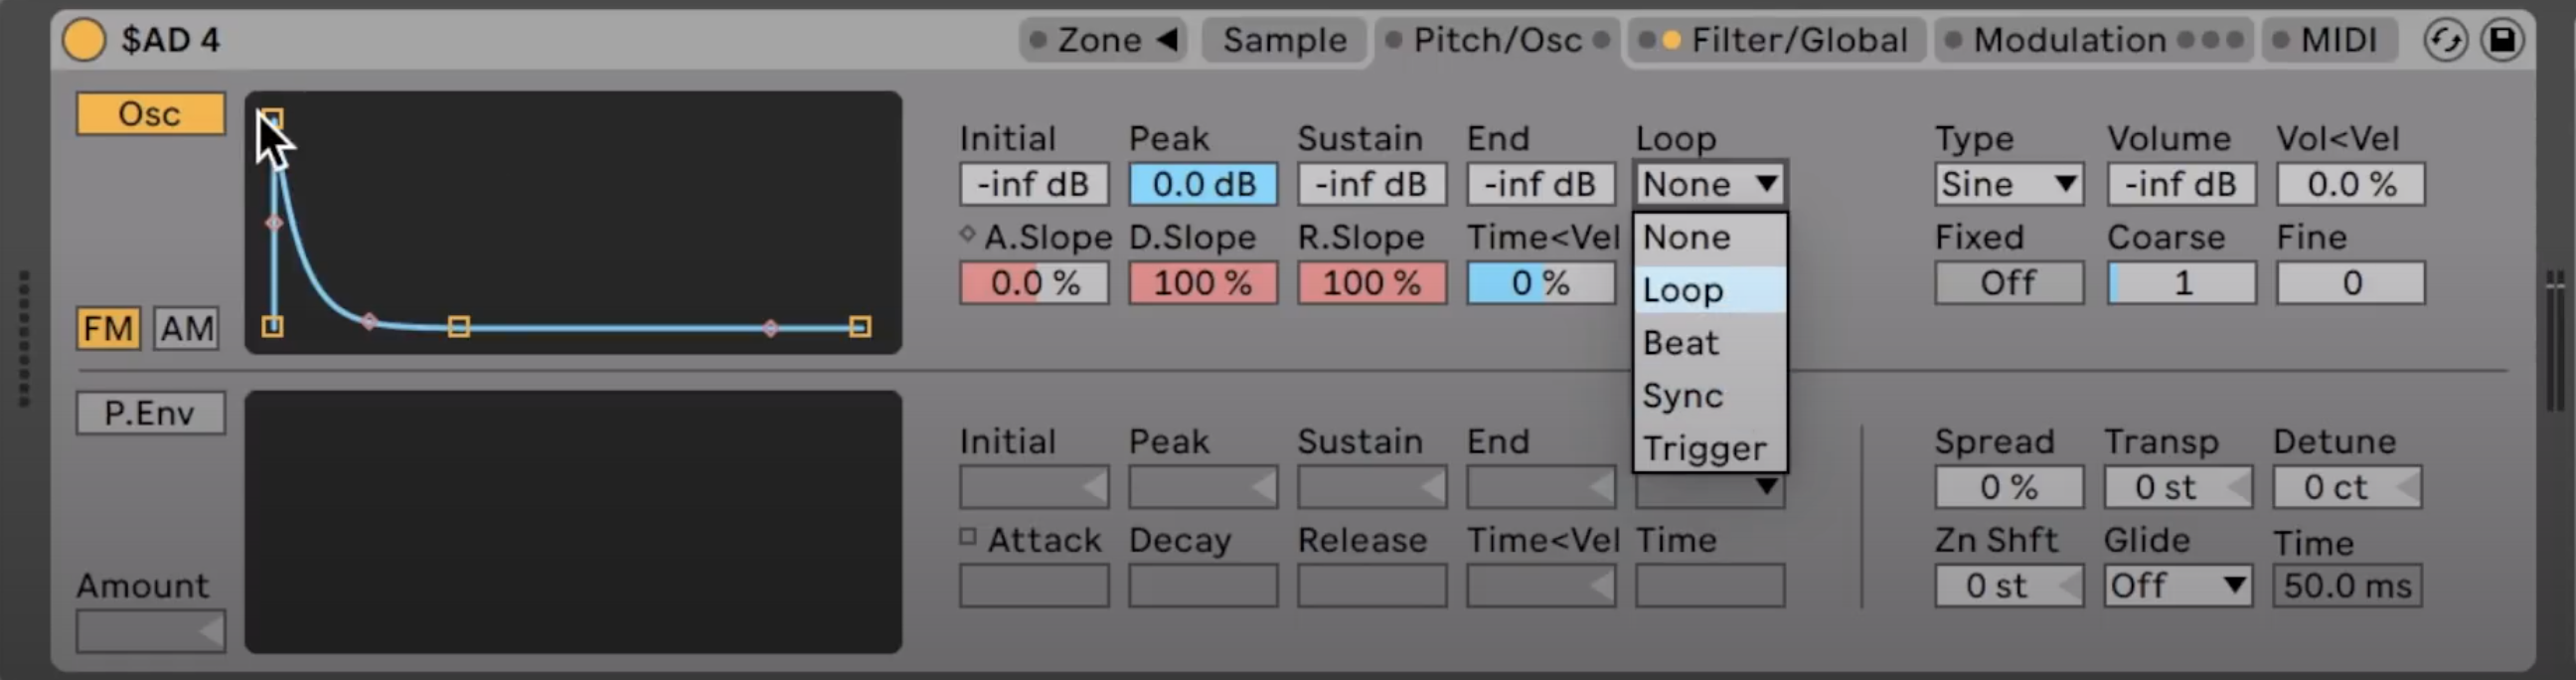
Pitch/Osc Tab
Here, you can adjust the modulation of amplitude, frequency, and apply pitch envelopes to each individual sample. The sample you have selected in Zone editor.
Multimode Filtering
A sampler gives you control over each and every sample you import, meaning that you can individually customize your sampling layers.
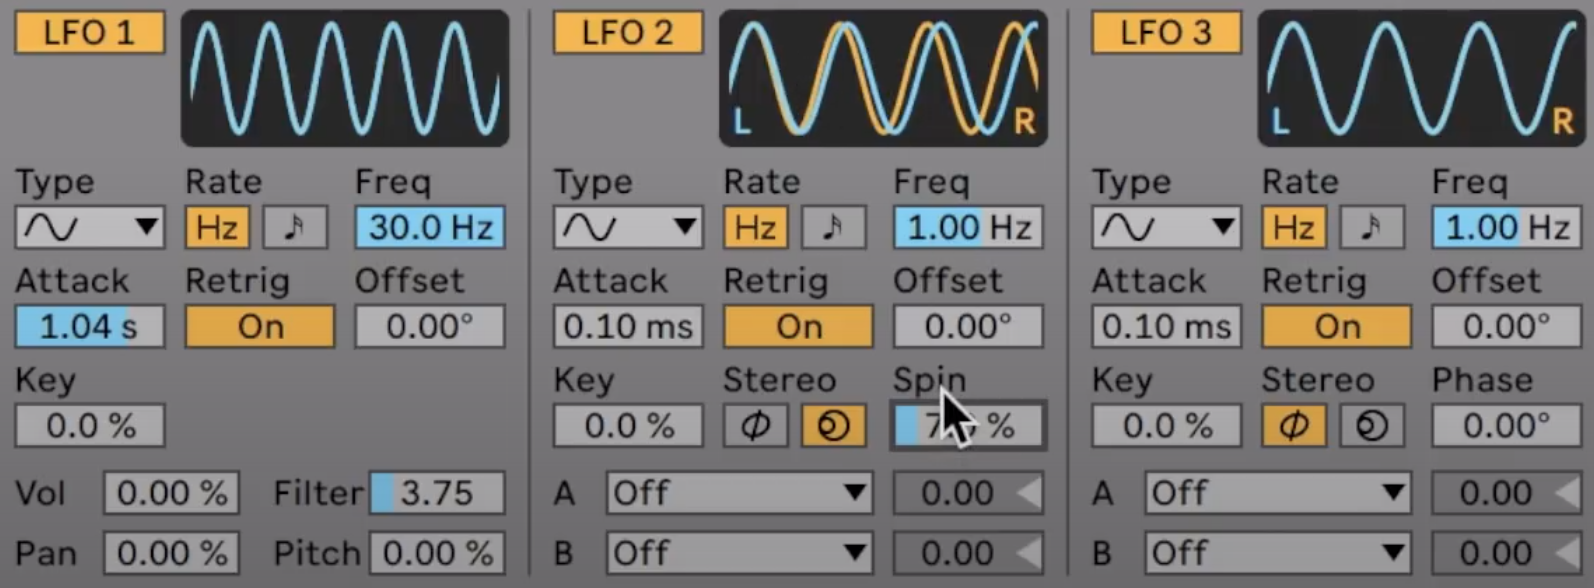
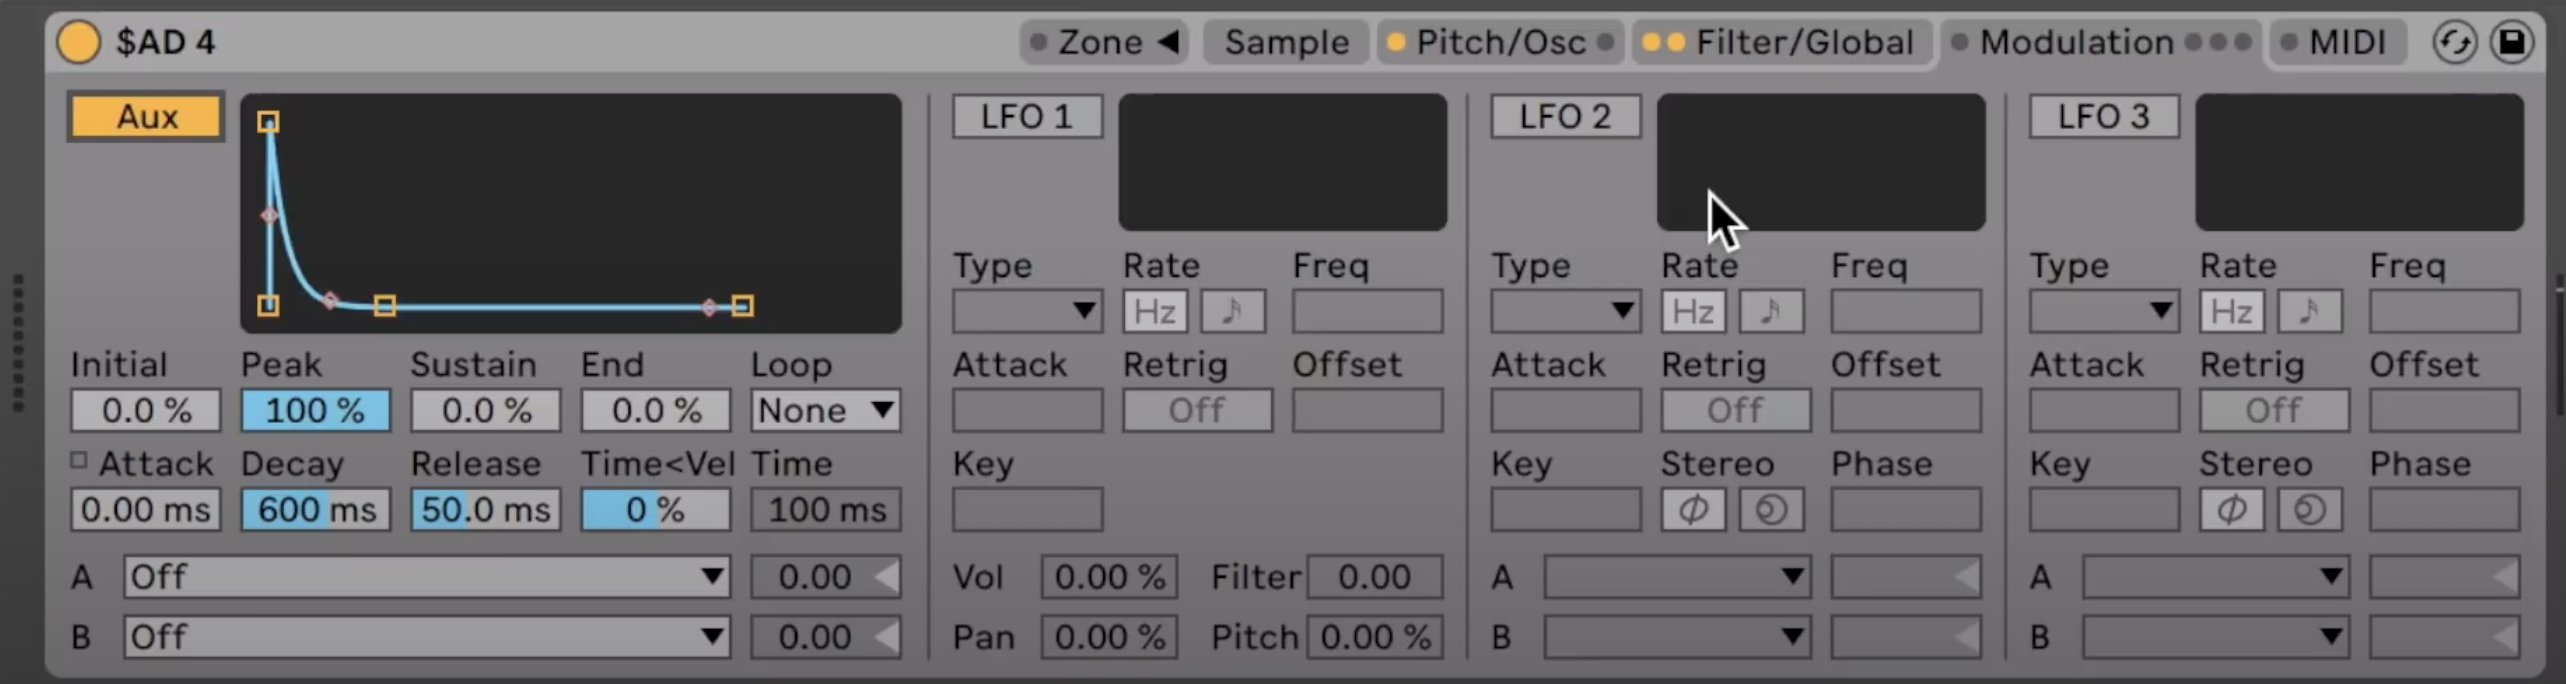
Polyphonic Modulation
With Sampler, you can modulate your samples with up to three LFOs under the Modulation tab.
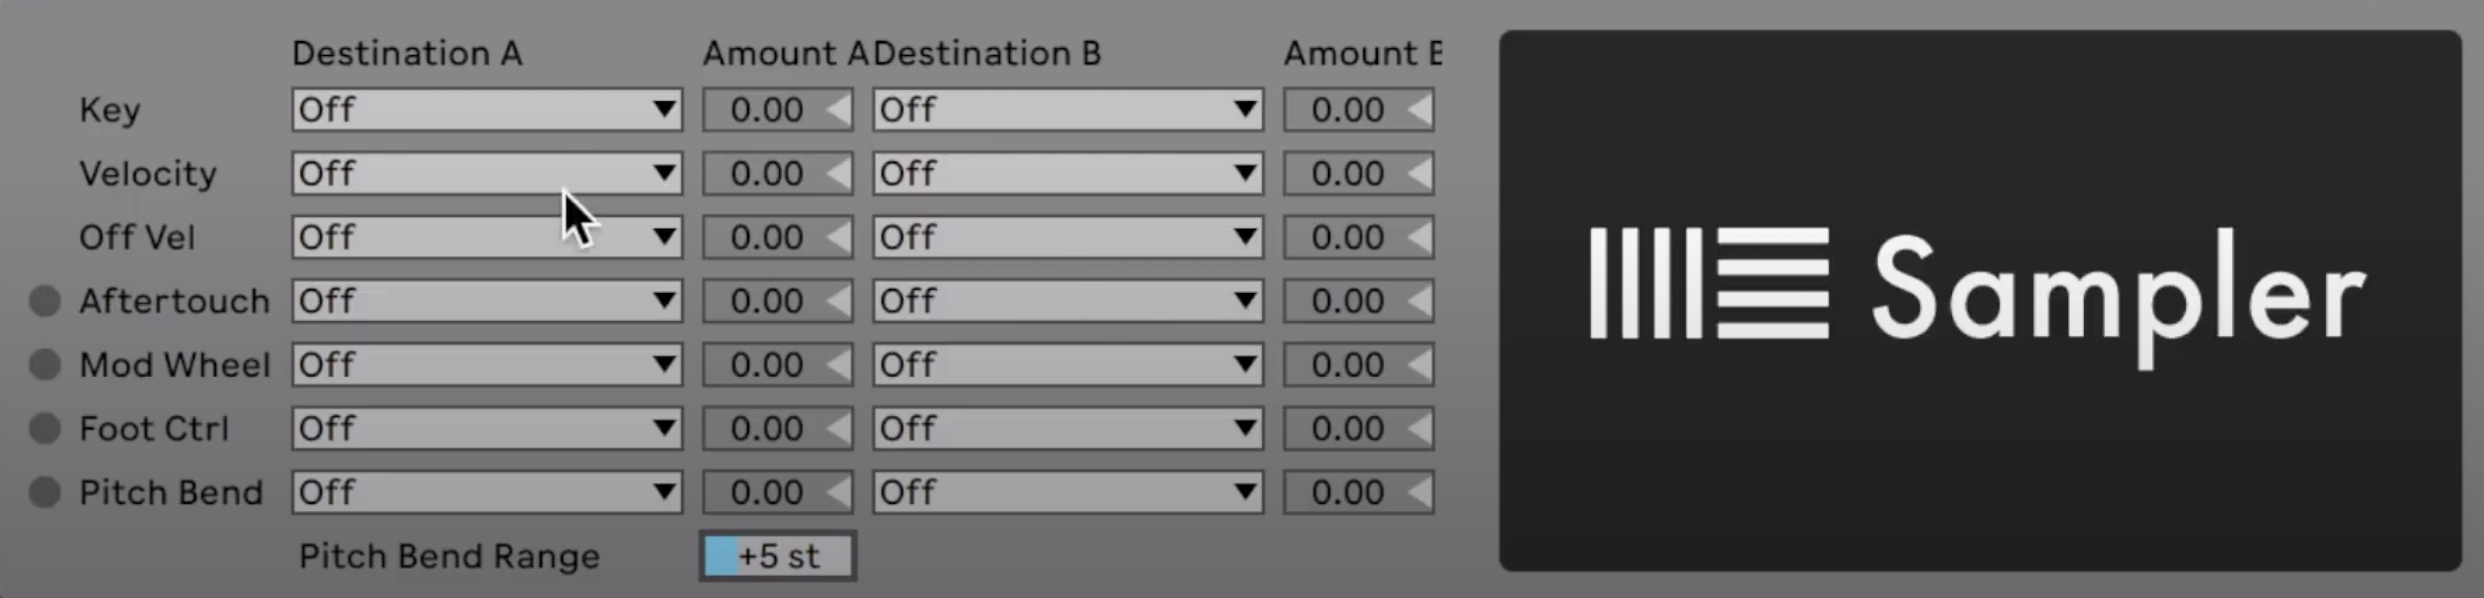
MIDI Parameter Control/Routing
With the MIDI tab, users can control parameters of the Sampler’s controls with different MIDI CCs such as velocity.
There is literally SO much you can do with Sampler. This is just an introduction to its features, but the best way to learn and understand the instrument is to play around with it and explore its capabilities yourself!
by Maya Wagner